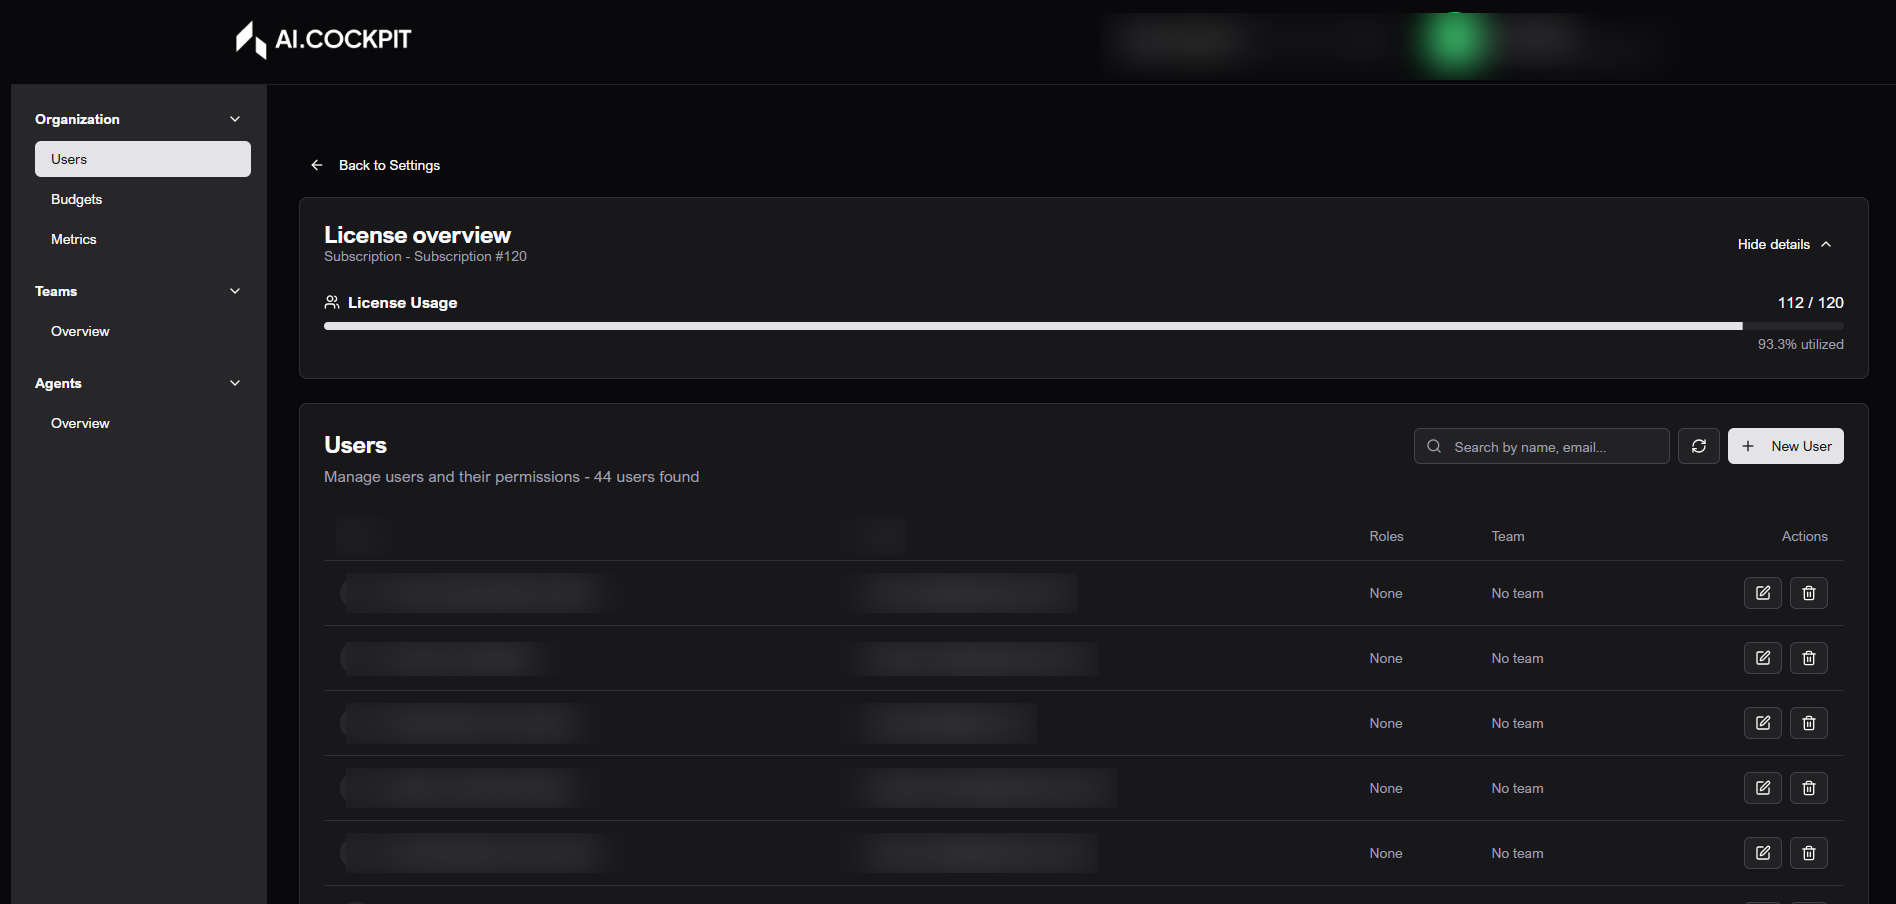
Settings - Users
Users lets administrators list, search, create, edit, and remove users from the selected organization. It also shows access role, team assignment, and license information when available.
When to use
- Use Users to add someone to the organization.
- Use it to update a user's role or team.
- Use it to remove access for a user who should no longer belong to the organization.
Before you start
- Confirm that the correct organization is selected.
- This section appears only for users with administrative access.
- Removing a user revokes access to the organization.
Step by step: review users
- Open Settings > Users.
- Review the license summary when it is available.
- Use search to filter by name or email.
- Navigate through pagination when the list is long.
- Use Refresh when you need to update the list.
Step by step: create a user
- Click New User.
- Enter the email.
- Enter first name and last name.
- Choose the role.
- Choose the team.
- Save.
- Wait for the success message.
Step by step: edit a user
- Find the user in the list.
- Click the edit action.
- Update the allowed fields.
- Save.
Step by step: delete a user
- Find the user in the list.
- Click the delete action.
- Read the warning.
- Type the confirmation when requested.
- Confirm the deletion.
Understand the fields
| Field | What it means |
|---|---|
| User identifier. | |
| First and last name | Name shown in the platform. |
| Role | Access level in the organization. |
| Team | Group the user belongs to. |
| Licenses | Number of active users compared with the contracted limit. |
Expected result
The user list should reflect the new account, updated profile, or removed access after the action is completed.
Tips and common issues
- If a role is unavailable, your account may not have permission to assign it.
- If a user does not appear, clear search and review pagination.
- Deleting a user removes organization access. Confirm before continuing.
Flow image